


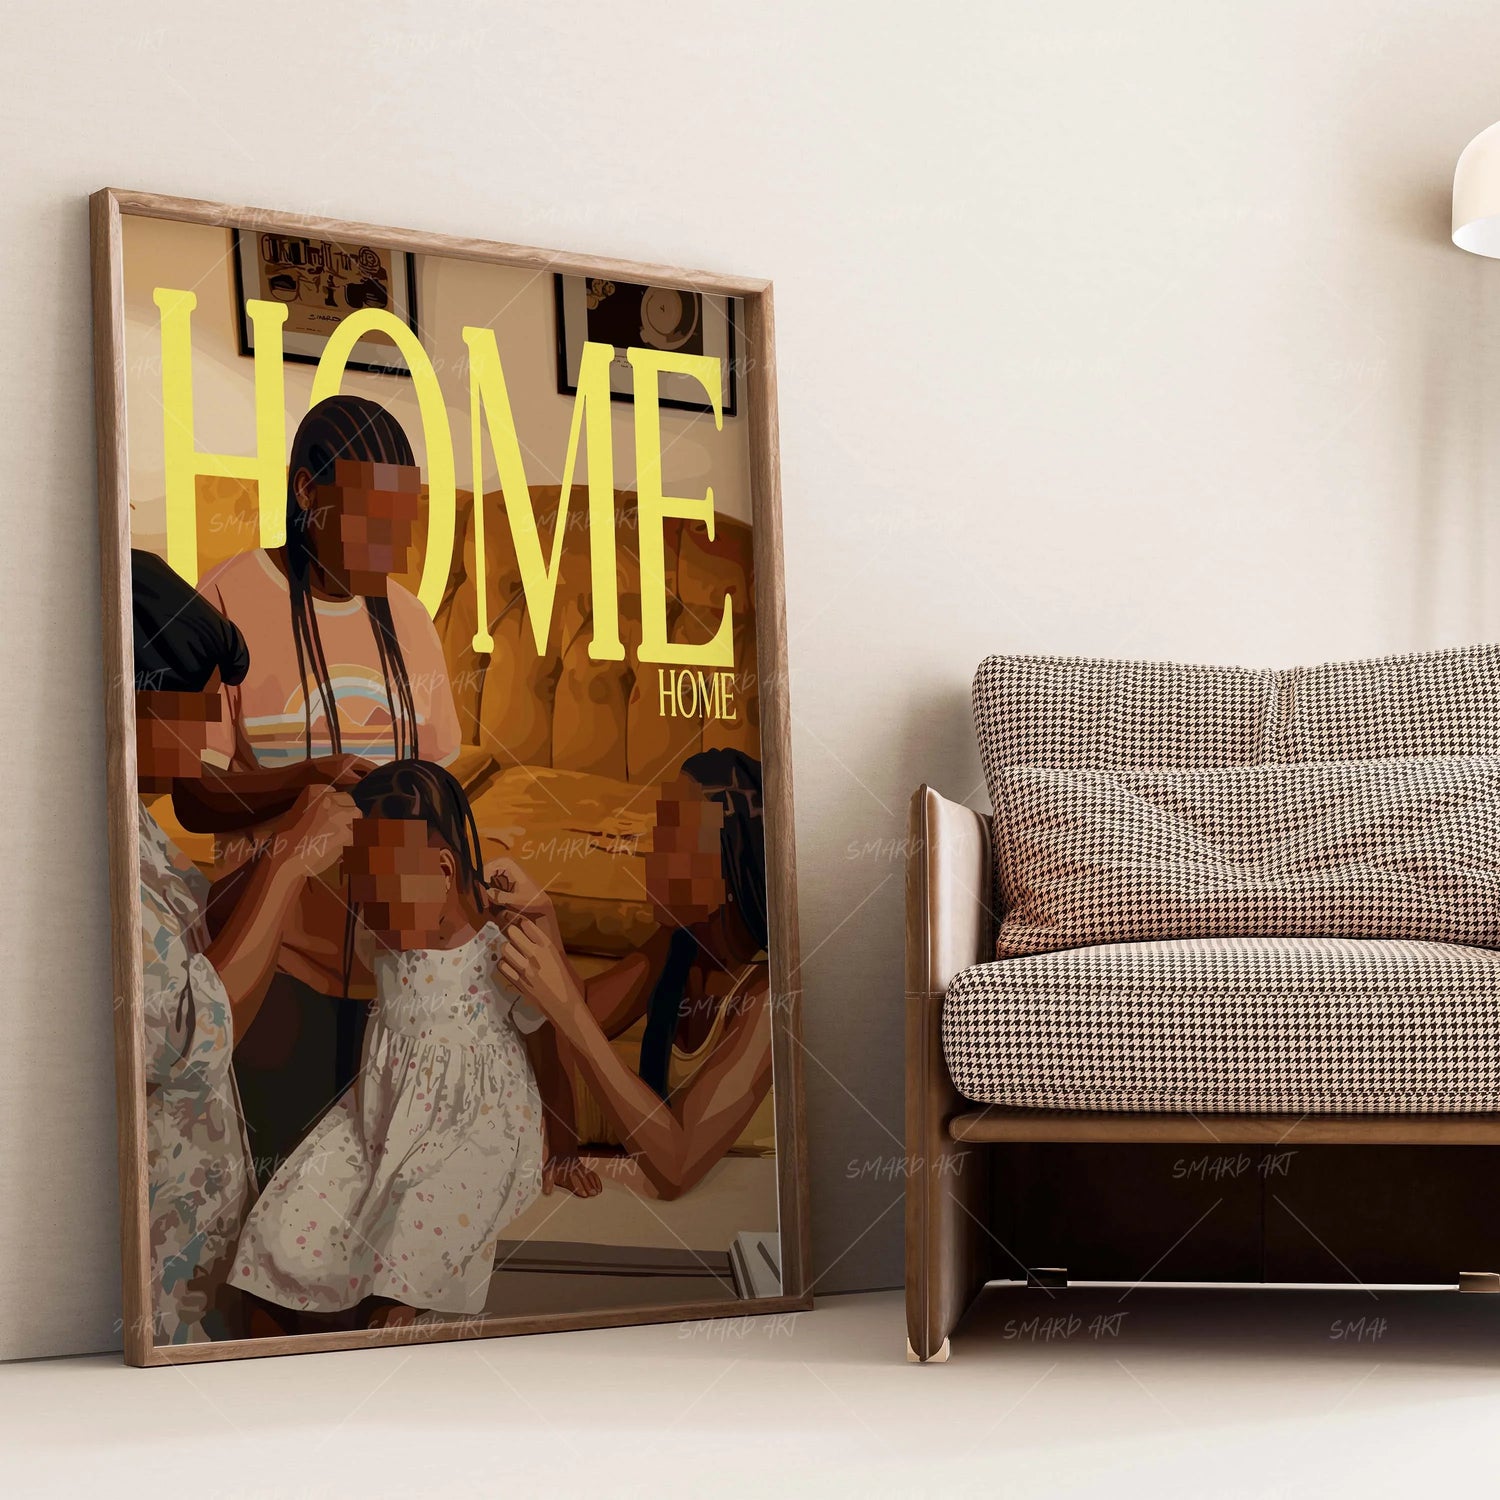
Gallery walls have become one of the most popular ways to display art, photographs, and personal collections in modern homes. Unlike single statement pieces, gallery walls allow for a more curated and layered approach, creating spaces that tell a story while enhancing the room’s visual appeal.
Creating a gallery wall can seem daunting because it involves combining different sizes, styles, and subjects. However, with careful planning, anyone can design a gallery wall that feels balanced, personal, and visually striking.
Step 1: Choose a Theme or Story
Every gallery wall works best when it has a unifying theme. This could be:
- Family and memories: Photos, heirlooms, and keepsakes.
- Art styles: Abstract paintings, modern prints, or traditional pieces.
- Travel experiences: Maps, photographs, and souvenirs from different locations.
- Color palette: Coordinating colors that tie the pieces together visually.
A clear theme ensures the wall feels cohesive, even if the artwork and photos vary in style and size.
Step 2: Select Your Pieces
Once you have a theme, gather the pieces you want to display. Consider mixing:
- Large statement pieces: These act as anchors and provide structure.
- Smaller complementary pieces: Fill spaces and add detail.
- Personal elements: Handwritten notes, postcards, or small memorabilia.
Include a variety of shapes and textures to create depth and visual interest.
Step 3: Plan the Layout
Before committing to nails and hooks, plan the layout on the floor or with paper templates on the wall.
- Start with the largest pieces as anchors.
- Place smaller pieces around them, keeping spacing consistent (usually 2–3 inches).
- Step back frequently to ensure balance and proportion.
This planning stage helps prevent overcrowding and ensures each piece has room to breathe.

Step 4: Consider Frames and Colors
Frames help unify the gallery wall. You can choose:
- Uniform frames: All black, white, or wooden frames for a clean look.
- Mix of frames: Different styles for an eclectic, personal feel.
The frame color should complement the artwork and the room’s décor. Subtle cohesion between frames keeps the display polished.
Step 5: Placement and Height
Eye-level placement is critical. For gallery walls, consider the center of the overall arrangement as the visual anchor, ideally at 57–60 inches from the floor.
If hanging above furniture, leave 6–10 inches between the bottom of the lowest piece and the top of the furniture. This ensures balance and visual connection.
Step 6: Add Personal Touches
Gallery walls shine when they reflect personality. Include pieces that have personal significance, such as:
- Travel photos
- Childhood memories
- Favorite quotes or poetry
- Handcrafted or local artwork
These elements make the wall meaningful and unique, turning décor into storytelling.
Step 7: Adjust and Fine-Tune
Once pieces are hung, step back to assess. Adjust spacing or reposition frames to achieve balance.
Lighting can further enhance the display—soft directional lighting or picture lights draw attention to key pieces and highlight textures.
Final Thoughts
A personalized gallery wall is a combination of planning, creativity, and personal expression. By carefully choosing a theme, mixing sizes and textures, and reflecting your personality, you can create a visually stunning and meaningful focal point.
Gallery walls transform empty walls into engaging spaces that tell stories and invite conversation. When executed thoughtfully, they become the heart of your home’s interior design.
Leave a comment
This site is protected by hCaptcha and the hCaptcha Privacy Policy and Terms of Service apply.