


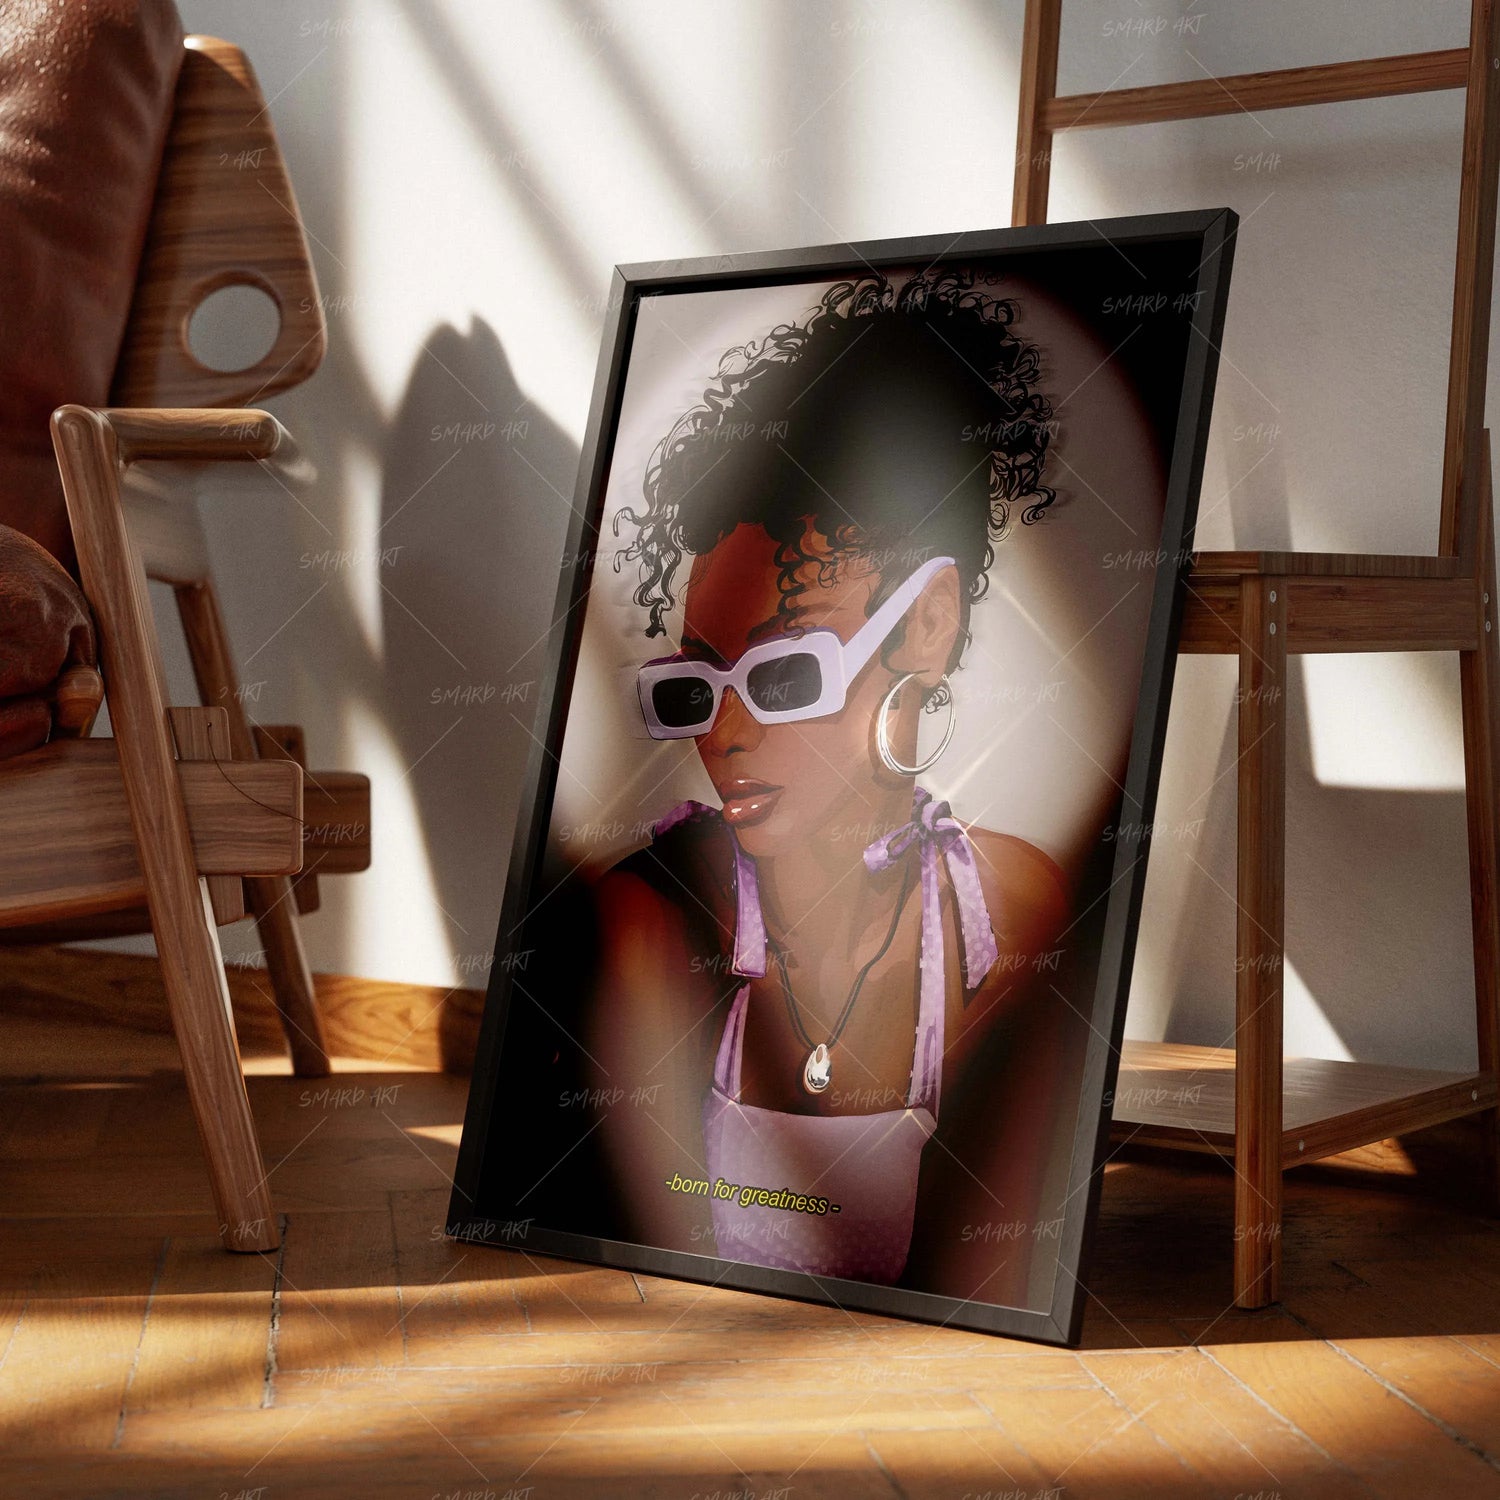
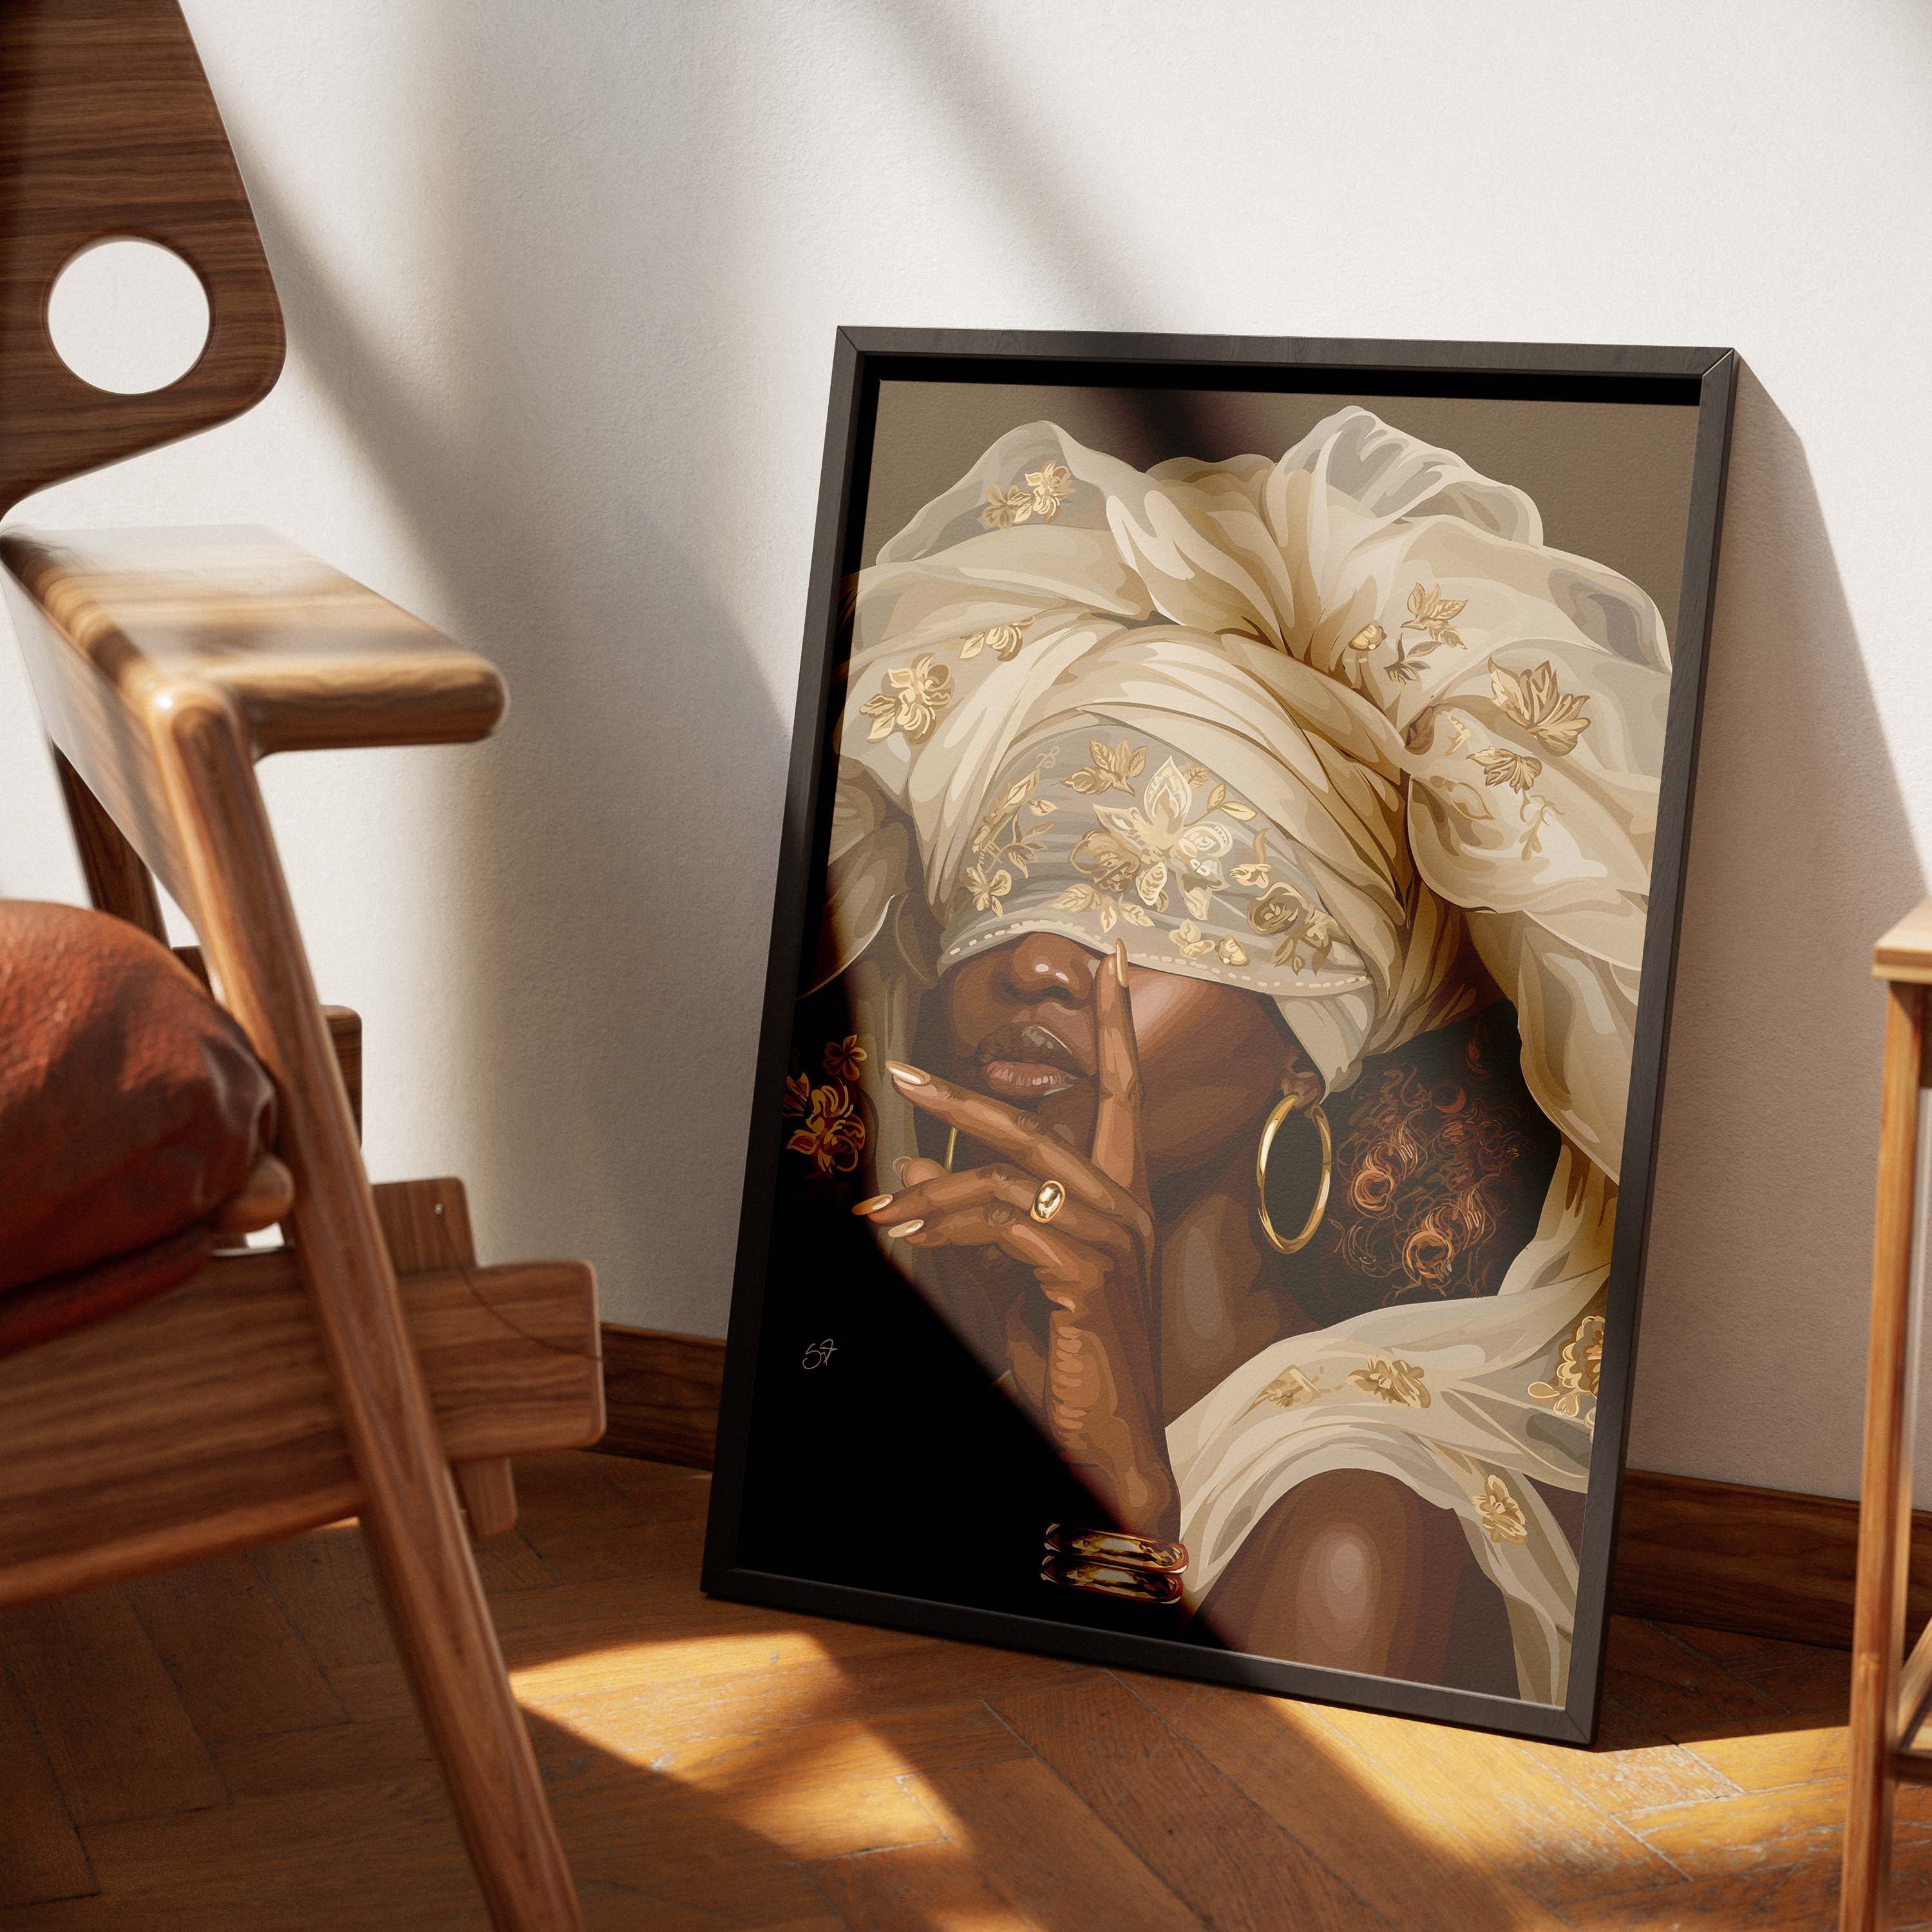
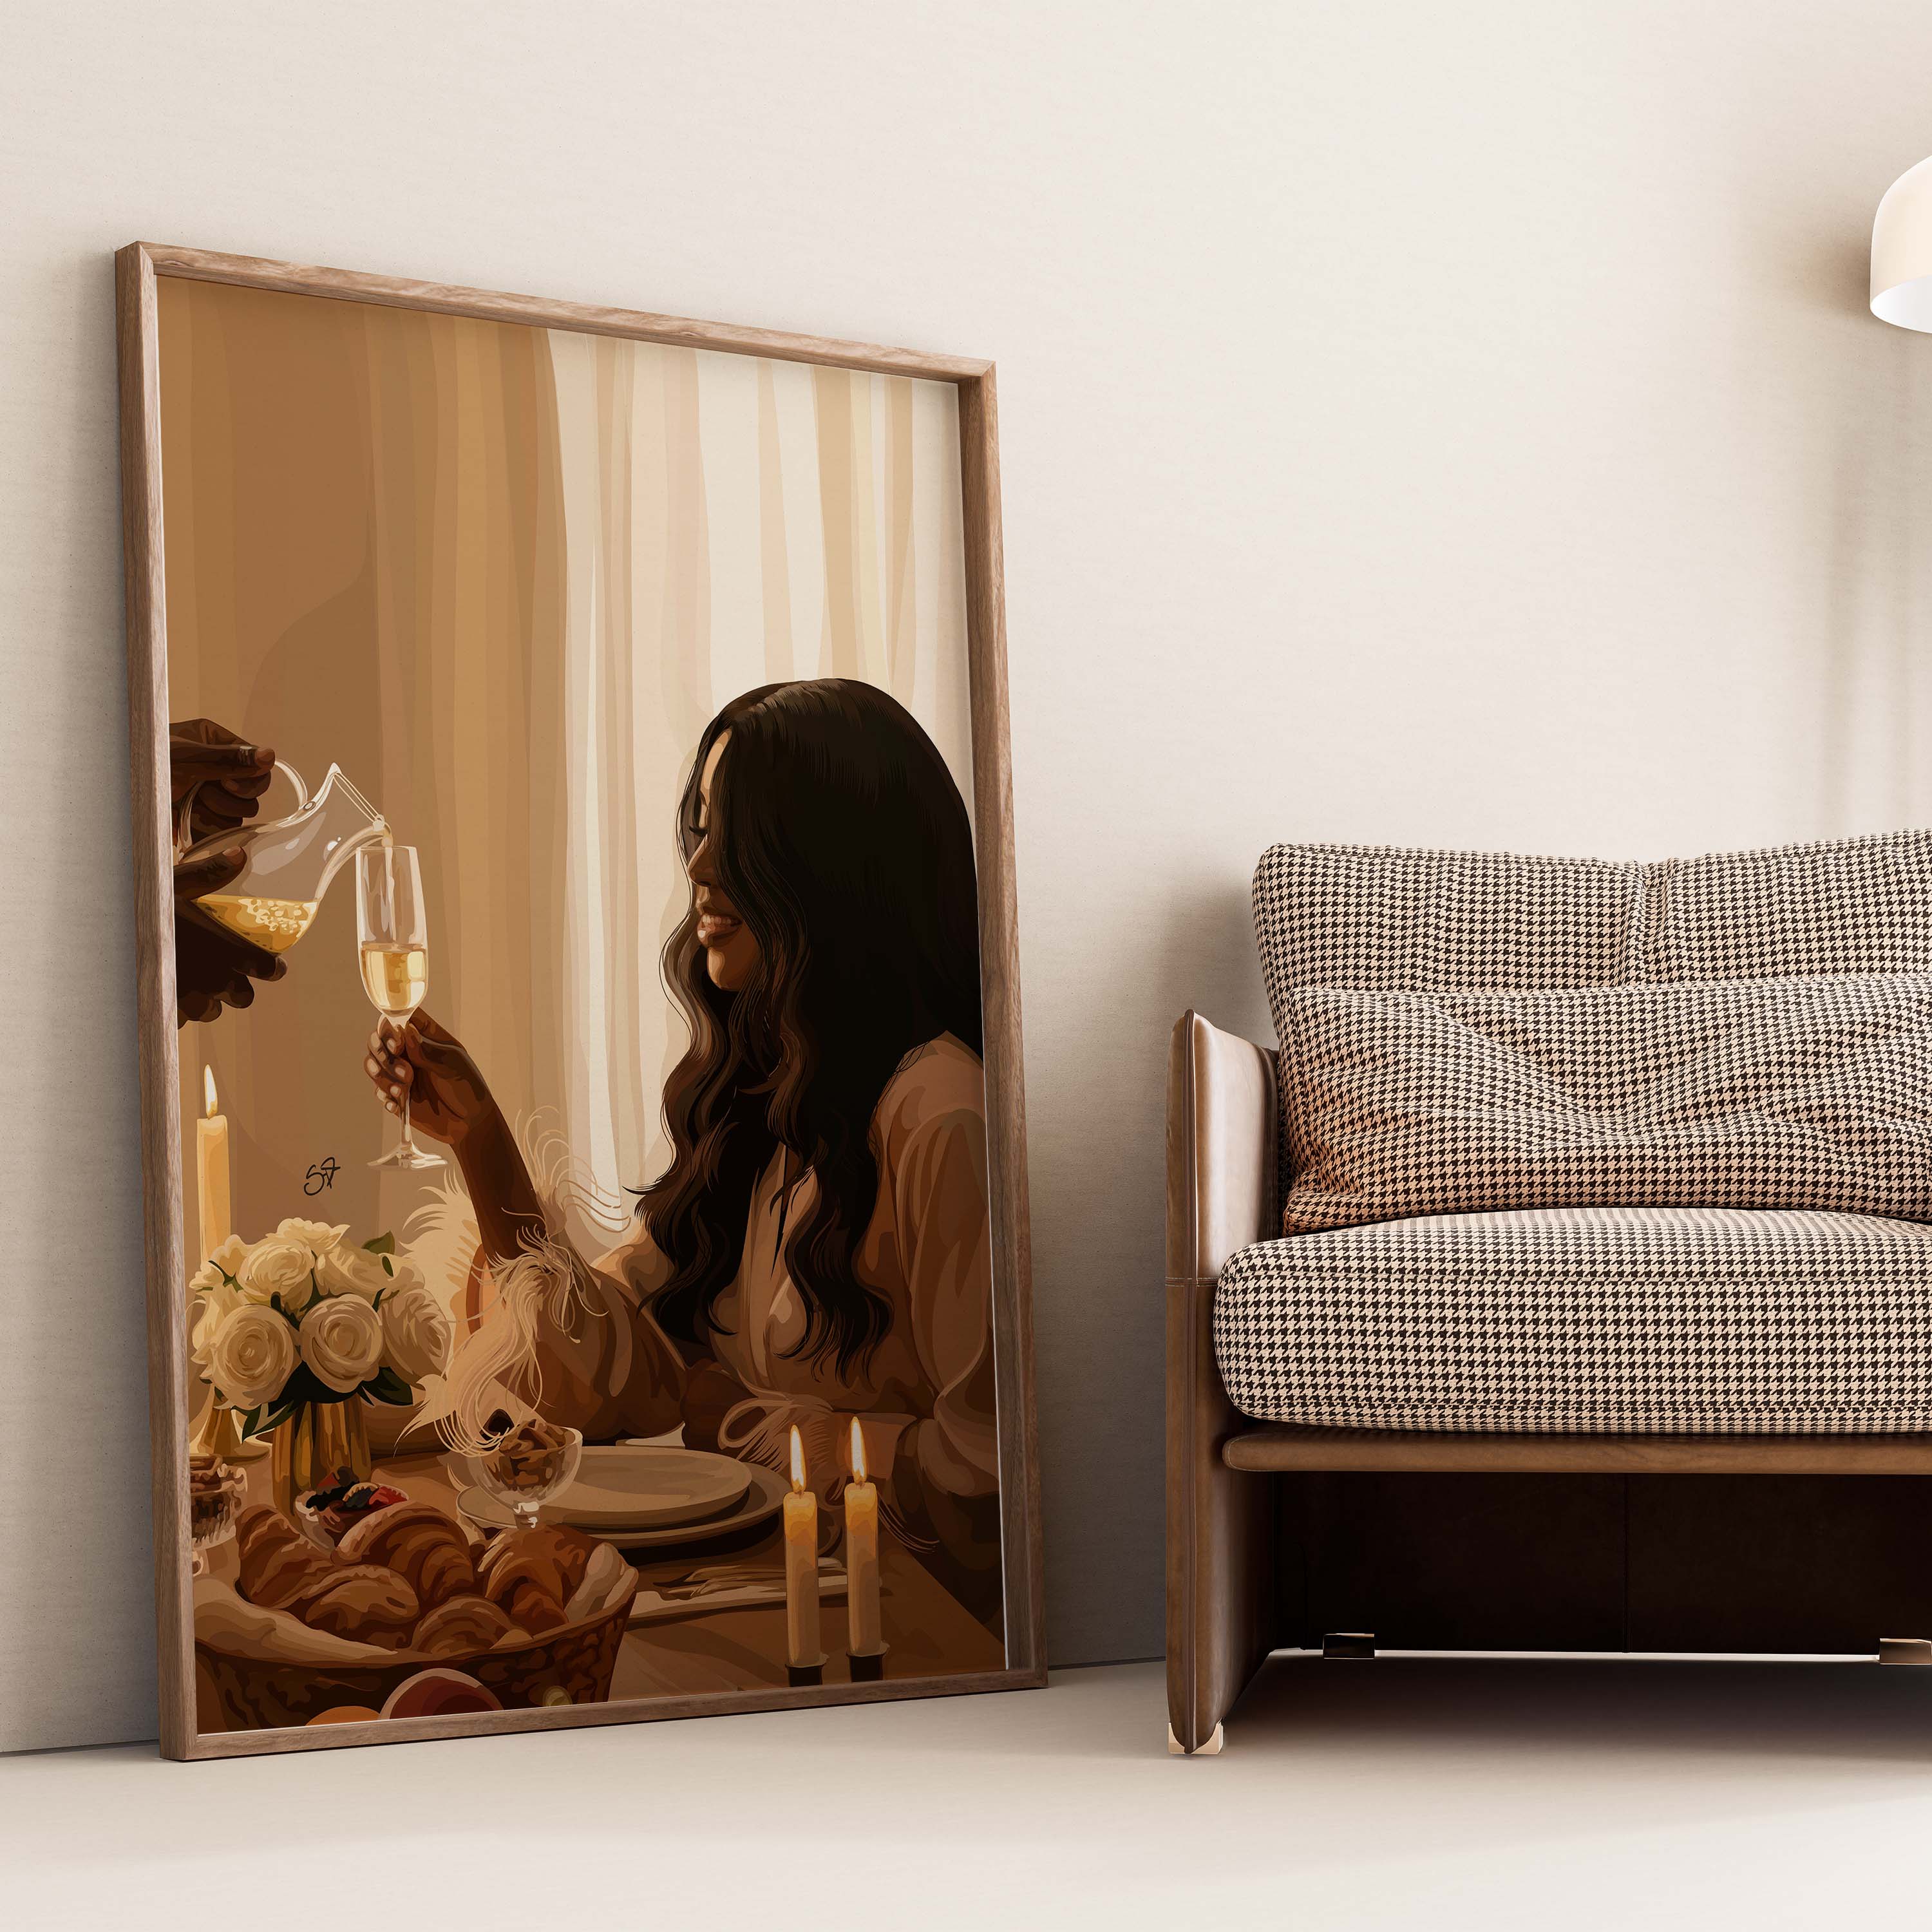
A gallery wall is one of the most effective ways to add personality, creativity, and visual interest to a home. Instead of displaying a single piece of artwork, a gallery wall combines multiple pieces to create a cohesive design that reflects personal style and storytelling.
Gallery walls can include art prints, photographs, illustrations, and meaningful visual pieces that together form a striking focal point. When designed properly, a gallery wall can transform an empty wall into one of the most captivating features of a room.
Creating a gallery wall may seem complicated at first, but by following a few simple steps, anyone can design a beautiful arrangement that looks intentional and professionally styled.
Step 1: Choose the Right Wall
The first step in creating a gallery wall is selecting the right location. Gallery walls work best on walls that have enough space to allow multiple pieces to be displayed comfortably.
Common places for gallery walls include:
- Living room walls above the sofa
- Staircase walls
- Hallways
- Entryways
- Bedroom walls above a dresser or bed
These spaces naturally draw attention and benefit from visual interest.
Choosing a prominent wall ensures that the gallery wall becomes a meaningful focal point within the room.
Step 2: Select a Theme or Style
Although gallery walls often include a variety of artworks, they usually follow a general theme or design style. This helps keep the display visually cohesive rather than chaotic.
Some popular gallery wall themes include:
- Black and white photography
- Abstract art collections
- Cultural or heritage artwork
- Nature and landscape prints
- Minimalist illustrations
Another way to create cohesion is by choosing frames that share a similar color or material. Matching frames produce a clean, modern look, while mixed frames create a more eclectic style.
Having a clear theme helps guide the selection of artwork.
Step 3: Gather Your Artwork
Before hanging anything, collect all the pieces you plan to include in the gallery wall. Lay them out on the floor so you can experiment with different arrangements.
Try combining:
- Large statement pieces
- Medium-sized artworks
- Smaller accent pieces
Using a mix of sizes adds visual variety and depth to the arrangement.
At this stage, it is helpful to step back and observe how the pieces interact with one another.

Step 4: Plan the Layout
Planning the layout before hanging artwork is essential for achieving a balanced look.
There are several layout styles to consider:
Grid Layout
This layout uses evenly spaced rows and columns, creating a clean and symmetrical appearance. It works best with artwork of the same size.
Organic Layout
An organic arrangement mixes different sizes and shapes in a more relaxed structure. This style feels artistic and dynamic.
Central Focus Layout
This layout begins with a larger central piece, with smaller pieces arranged around it.
Whichever layout you choose, aim to keep spacing between frames consistent—usually about 2 to 3 inches apart.
Consistency helps maintain visual harmony.
Step 5: Test the Arrangement on the Wall
Before hammering any nails, it is helpful to test the arrangement on the wall.
One effective method is to cut pieces of paper that match the size of each artwork and tape them onto the wall. This allows you to adjust positioning easily without making permanent holes.
Testing the layout ensures the final arrangement feels balanced and well spaced.
Step 6: Start Hanging From the Center
When hanging the artwork, begin with the central piece or the most important artwork in the arrangement.
This piece usually sits at eye level and acts as the anchor for the entire gallery wall.
Once the center piece is secure, hang the surrounding pieces one by one while maintaining consistent spacing.
Working outward from the center helps preserve balance.
Step 7: Step Back and Adjust
After all the artwork is hung, step back and observe the overall display. Sometimes small adjustments can make a big difference.
If a piece feels slightly off-center or spacing appears uneven, making minor corrections can improve the final result.
Gallery walls often benefit from careful refinement.
Final Thoughts
A well-designed gallery wall transforms empty walls into powerful visual statements. By combining meaningful artwork, thoughtful layouts, and balanced spacing, homeowners can create displays that reflect their personality and style.
Gallery walls are not only decorative—they tell stories, celebrate memories, and add depth to interior spaces.
With a little planning and creativity, anyone can create a gallery wall that becomes a standout feature of their home.
Leave a comment
This site is protected by hCaptcha and the hCaptcha Privacy Policy and Terms of Service apply.